

Avatar
Avatar Settings
This guide uses the same names you see in the Avatar Setting panel in the editor.
Manupulation
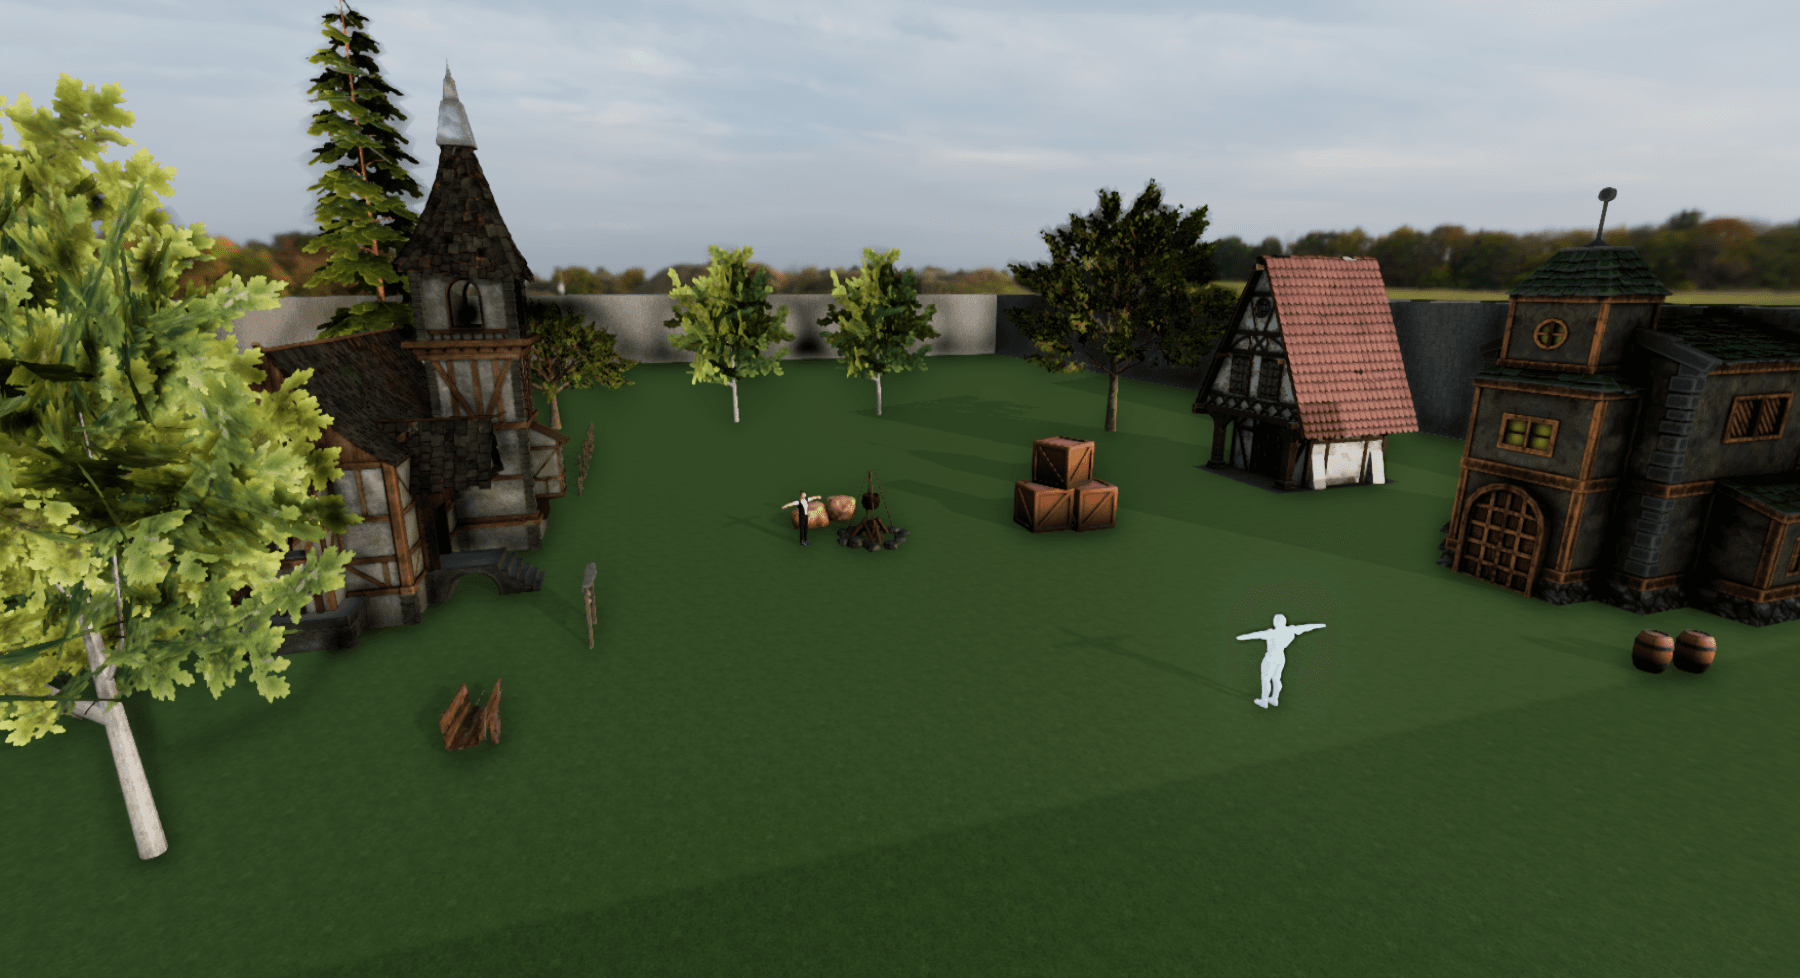
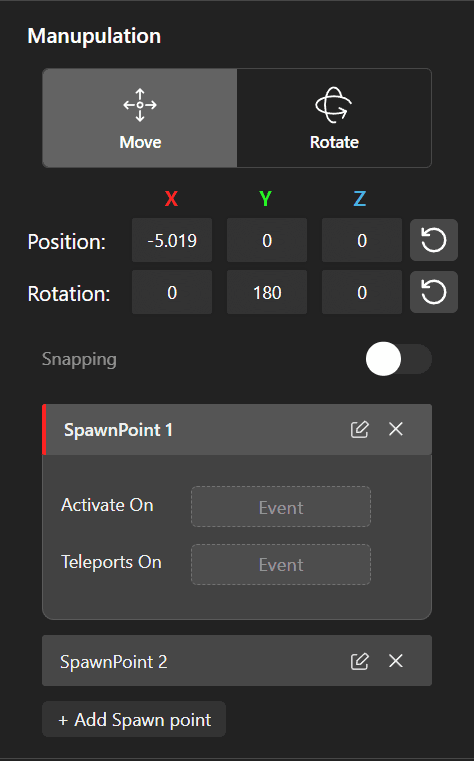
Use Manupulation to place the player in the world and create spawn locations.
Tabs
- Move changes where the avatar starts. Use it to place the player at the correct start location.
- Rotate changes the direction the avatar faces. Use it to make the player face a path, door, enemy, or focal point.
Snapping
- On helps align movement more cleanly.
- Off allows freer placement.
Turn Snapping on when you want neat placement. Leave it off when you need finer manual positioning.
Spawn Points
Spawn points are extra player locations you can create inside the world.
- Player starts
- Respawn locations
- Teleport destinations
- Checkpoints that become active after an event
For example, you can create a checkpoint spawn point and use Activate on so that once the player reaches a milestone, that spawn point becomes the new active checkpoint.
Add Spawn point
Creates a new spawn point.
Name
The label for the spawn point in the editor.
Use clear names like:
StartCheckpoint 1Bridge ExitBoss Room
Activate on
Makes this spawn point become the active one when an event happens. This is the best field for checkpoint systems.
Teleports on
Moves the player to this spawn point when an event happens.
Use this for:
- Portals
- Doors
- Elevators
- Cutscenes
- Fast travel
- Scripted transitions
Character
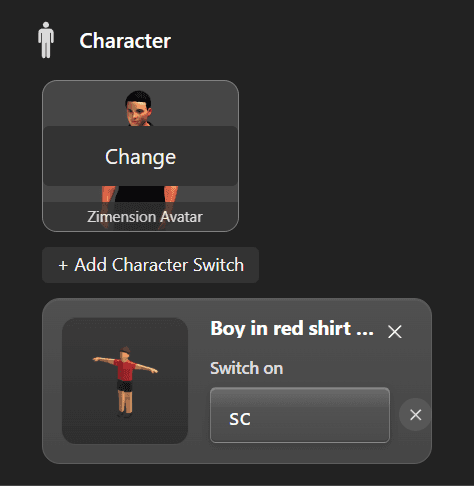
This section controls which character the player uses.
Change
Opens the character picker and replaces the current player character. Use it when you want a different avatar model, style, or role.
Add Character Switch
Lets you add extra characters that the player can switch to during gameplay.
This is useful for:
- Power-up forms
- Outfit changes
- Role swaps
- Transformation moments
Switch on
Triggers the character switch when an event happens. Example: after collecting an item, entering an area, or completing a task, the player can switch to another character.
Limited Character
- On restricts character usage in multiplayer.
- Off leaves character choice more open.
Use this when multiplayer worlds need tighter control over which characters can be used.
Camera
This section controls how the player sees the world.
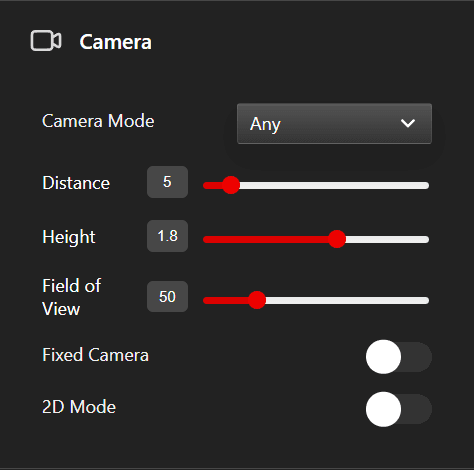
Camera mode
- Any allows general camera behavior. Best for flexible worlds that do not need a fixed play style.
- FPP gives a first-person view. Best for shooters, exploration, horror, and immersive scenes.
- TPP gives a third-person view. Best for action, platforming, and character-focused gameplay.
Distance
- Controls how far the camera sits from the player.
- Higher values give a wider view.
- Lower values keep the camera closer.
Height
- Controls how high the camera sits relative to the player.
- Higher values show more of the environment.
- Lower values feel closer to eye level.
Field of View
- Controls how wide the camera sees.
- Higher values feel wider and faster.
- Lower values feel tighter and more focused.
Fixed Camera
Use this when you want the camera to stay in a chosen position instead of following normally.
Fixed Camera
- On locks the camera to a fixed setup.
- Off uses normal player camera behavior.
Use Fixed Camera for:
- Cinematic scenes
- Puzzle rooms
- Side-view gameplay
- Security-camera style views
- Boss arenas
Camera type
- Perspective gives natural 3D depth. Best for most cinematic and standard 3D scenes.
- Orthographic gives a flatter view with less depth feel. Best for technical, stylized, or more 2D-like scenes.
Camera Position
Lets you control where the fixed camera is placed.
Use Current View
Copies the editor's current view into the fixed camera position. Use this when you already have the exact angle you want on screen.
2D Mode
- On makes the fixed view behave more like a 2D presentation.
- Off keeps it as a normal fixed 3D view.
Use 2D Mode for:
- Side-scrollers
- Flat gameplay layouts
- Simplified movement experiences
Health
Use this section when your world includes damage, survival, or combat.
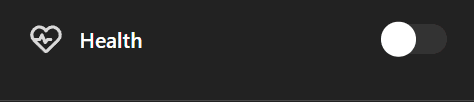
Health Toggle
- On enables player health.
- Off disables player health.
Max health
- Sets how much health the player has at full strength.
- Higher values make the player survive longer.
- Lower values make the game feel harder.
Jump
This section controls whether the player can jump and how strong that jump is.
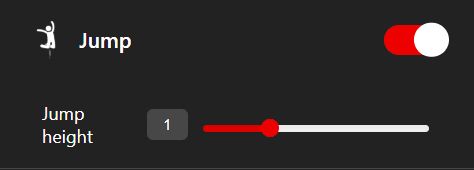
Jump Toggle
- On means jumping is allowed.
- Off means jumping is disabled.
Turn this Off for grounded experiences like:
- Walkthroughs
- Gallery spaces
- Puzzle rooms with no vertical movement
Turn this On when the player needs movement freedom.
Jump height
- Controls how strong the jump is.
- Higher values are better for platforming and vertical movement.
- Lower values feel more grounded and realistic.
Sprint
This section controls whether the player can sprint and how fast that sprint feels.
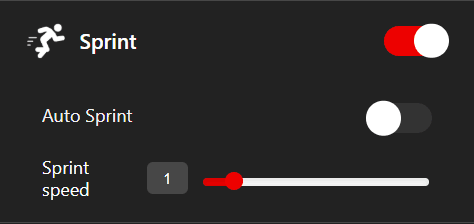
Sprint Toggle
- On means sprint behavior is available.
- Off means sprint behavior is not used.
Use sprint when your world benefits from faster movement, larger spaces, or more action-heavy play.
Auto sprint
- On means the player runs automatically.
- Off means the player only moves normally unless sprint behavior is triggered by the experience.
Use Auto sprint for:
- Endless runner style scenes
- Chase moments
- Fast traversal worlds
Sprint speed
- Controls how fast the player moves while sprinting.
- Higher values make movement feel more energetic.
- Lower values keep movement more controlled.
Torch light
Use this section when the player needs a light source.
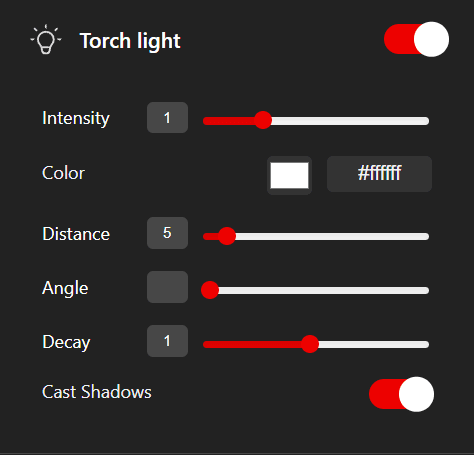
Torch light Toggle
- On enables the avatar's torch light.
- Off disables the torch light.
Use this in:
- Dark interiors
- Caves
- Night scenes
- Horror environments
Intensity
- Controls brightness.
- Higher values make the light stronger.
- Lower values make it softer.
Color
- Changes the light color.
- Use white for a normal flashlight feel.
- Use colored light for mood or stylized scenes.
Distance
- Controls how far the light reaches.
- Use a larger value in bigger spaces.
Angle
- Controls how wide the light spreads.
- Smaller angle means a tighter flashlight beam.
- Larger angle means wider light coverage.
Decay
- Controls how quickly the light fades over distance.
- Higher decay means it fades faster.
- Lower decay means it stays stronger farther away.
Cast Shadows
- On means the torch creates shadows.
- Off means the torch lights the scene without shadow casting.
Turn this on when you want more dramatic lighting.
Quick Setup Advice For New Users
- Choose the Character.
- Place the player in Manupulation.
- Add Spawn Points for starts, checkpoints, or teleports.
- Pick the right Camera mode.
- Decide whether Jump should be on or off.
- Decide whether Sprint should be on or off.
- Enable Health only if your world uses damage.
- Enable Torch light only if darkness or atmosphere matters.